How Do You Remove Caulking From A Shower and Replace It?
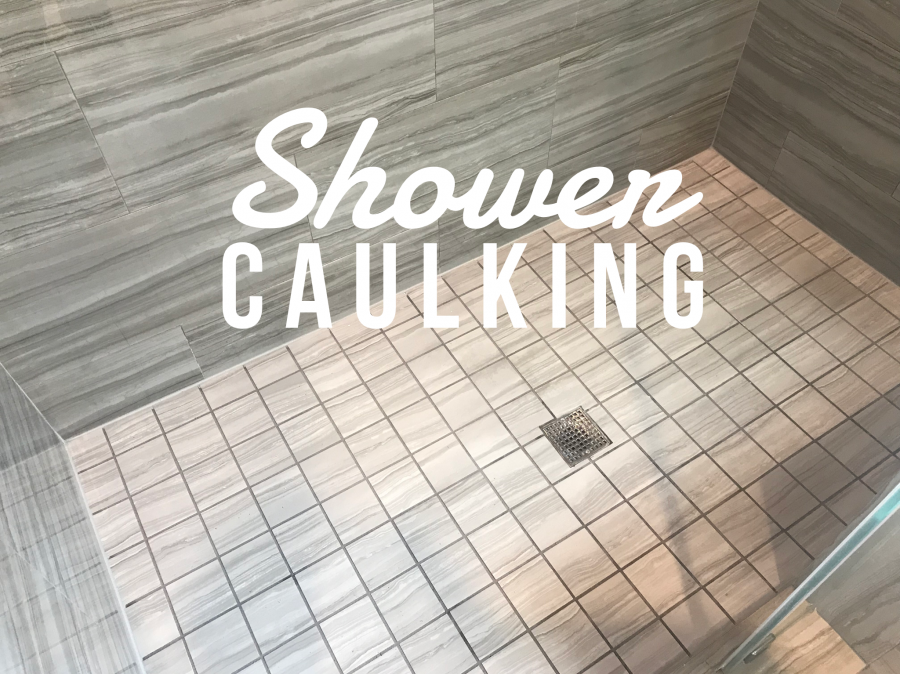
Table of Contents
ToggleIt happens, the caulk in your shower starts to look like a Rorschach test and you’re sick and tired of watching as it slowly spreads it’s way throughout the shower. So what do you do? You look up what to do, which got you here to this blog.
Here’s What You Need To Remove and Replace Caulking In A Shower
- Razor Blade and Painters Knife
- Mineral Spirits
- Caulk Finishing Set
- Blue Painters Tape
- Paper Towels
- Caulking Gun
- Shop vac or a broom and dustpan
- Patience because if it’s your first time it’s going to take a while
First Things First
Make sure the shower is clean and dry. I recommend thoroughly steam cleaning the shower and disinfecting prior to caulking. If you don’t have a vapor steamer or opt to not hire a pro for the tile and grout cleaning in the shower, then do a deep cleaning with bleach to prep.
Cut The Caulk
What I like to do is take the flat razor and start from the top of the caulk and work my way from left to right going up then down the entire line. Then I work from the bottom of the caulk by pushing the blade in and then out and working my way down the line. Clean up the area as best you can by removing as much of the remaining debris as possible with both the flat razor and the painters knife.
Vacuum The Area
Make sure to vacuum the area really well to get the chunks of caulk that are remaining. You don’t want to start caulking in an area that has debris remaining.
Make Sure Its Dry
Making sure that the area you’re caulking is dry is absolutely crucial. Sometimes water will continue to seep out of the walls for days after removing the caulk. It’s important for the area to be dry so that you can apply the fresh caulk or else the caulk simply won’t stick. Believe me it’s a mess when you mix water and caulk, don’t do it.
Treat The Area With Mineral Spirits
Once the caulk has been removed and the area vacuumed I like to treat the area with mineral spirits and a rag. The reason is it cleans the dust and debris and preps the surface for adhesion. If you’re having your shower cleaned as well we will treat the entire shower with an Australian Tea Tree Oil to naturally disinfect the shower before caulking the next day.
Tape Off The Area To Be Caulked
Apply your painters tape to the bottom and top of the seam line where you want your caulking to go. You don’t want them to be too close or too far apart, try to match the size of the bead that was previously in your shower. This is the most important part to make your shower look it’s very best. Some of the most experienced caulking professionals still tape off showers because it makes their job that much easier.
Cut The Tip and Apply The Caulk
Cutting the tip on the caulking tube is very important. You have to cut the tip at an angle and at an appropriate size. There are little hash marks on the head of the caulk tube, cut the smallest size and go larger if you feel the need to. From here you will put the caulk in the caulk gun and slowly apply to one area at a time.
Spread The Caulk
Take your caulk finishing set and slowly spread the caulk. I like to work by applying and spreading one line at a time so that the caulk doesn’t harden on me. After each swipe wipe your tool with a towel as to not spread unwanted caulk in the wrong areas.
No Showering
No Showering for at least 24 hours. Depending on the caulk you used it can take up to 72 hours to fully cure. It’s very important not to get the caulk wet while it cures or you could have a giant mess on your hands.
Bonus Tips
I’m personally a fan of Dap Quick Seal Ultra for white or other colors other than clear(it’s what I used in my own shower) it applies like an acrylic / latex based caulk but it is siliconized and has an anti-microbial built in. It’s very easy to work with and clean up if messes happen.
GE also makes a very good Clear and White 100% Silicone. 100% silicone I recommend only for professional use. The reason why I recommend silicone for professional use is because it is more difficult to work with and less forgiving than Dap Quick Seal Ultra. That said, if you are replacing clear caulk in the shower then GE Clear silicone is the best of the best. GEs white silicons is fantastic but I don’t recommend it for DIY use.
Sanded Caulk is also a great option in showers but this can be a DIY nightmare unless you tape off the shower before you caulk. The reason sanded caulk is used in some showers is it’s more aesthetically pleasing than just plain white or clear caulk. It’s not my favorite caulk because I don’t feel it protects from mildewing as well because there are more rough patches to stick to. But if you keep up with regular weekly shower cleanings and after shower treatments, this caulk will last a long time.
Why Use UpFront Home Services To Clean and Caulk Your Shower?
At UpFront Home Services we use a special blend of Australian Tea Tree Oil, Peroxide and Green Cleaning products to naturally disinfect your homes Shower Tile and Grout before our Caulking Service is started. This is important to eliminate the Mildew so that you’re not replacing your caulk every couple of months. Caulking should last years without replacement if you keep up with your showers maintenance. Other cleaners and handymen skimp on quality products because they simply don’t want or can’t afford to spend more money for specialty products. We don’t skimp and will provide you with the highest quality cleaning and caulking your homes Shower deserves.
At UpFront Home Services we provide Professional Shower Tile and Grout Cleaning and Caulking Services In Katy and the entire Houston area! Check out our Shower Caulking Service Here.
Do you want to have your shower tile and grout professionally prior to caulking yourself? We can do that too! Check out our Tile and Grout Cleaning Service to see our cleaning process.
Need An Honest UpFront Quote? Give us a call at (832)303-3546 for a FREE Estimate and to check availability
UpFront Home Services
Call or Text (832)303-3546
Why do love Katy? Because of Taco A Go Go! We LOVE The smoked brisket tacos and sugar cane sodas they serve! They have the absolute best Tacos in Katy and Houston (according to the Katy Fort Bend / Foodie Facebook Group)… We service the entire Houston area. Want to learn more about the City of Katy Click Here
Other Blogs You May Be Interested In
Categories







Leave a Reply